
I meant to put this up a couple of months ago but did not for some reason. I put up my Ferris Wheel Jewelry Holder How-To. Well this goes along with that post and it is also an easy alteration. I made this to go on my dresser to display part of my somewhat big handmade jewelry collection.
You'll start with buying the cupcake holder on Amazon. Once you get it-put it together per the instructions.
Other things you need:
-glue
-felt
-marker
-empty cereal box
-something to measure your circles( I used a roll of tape)
-scissors

Step 1: Put the cupcake holder together
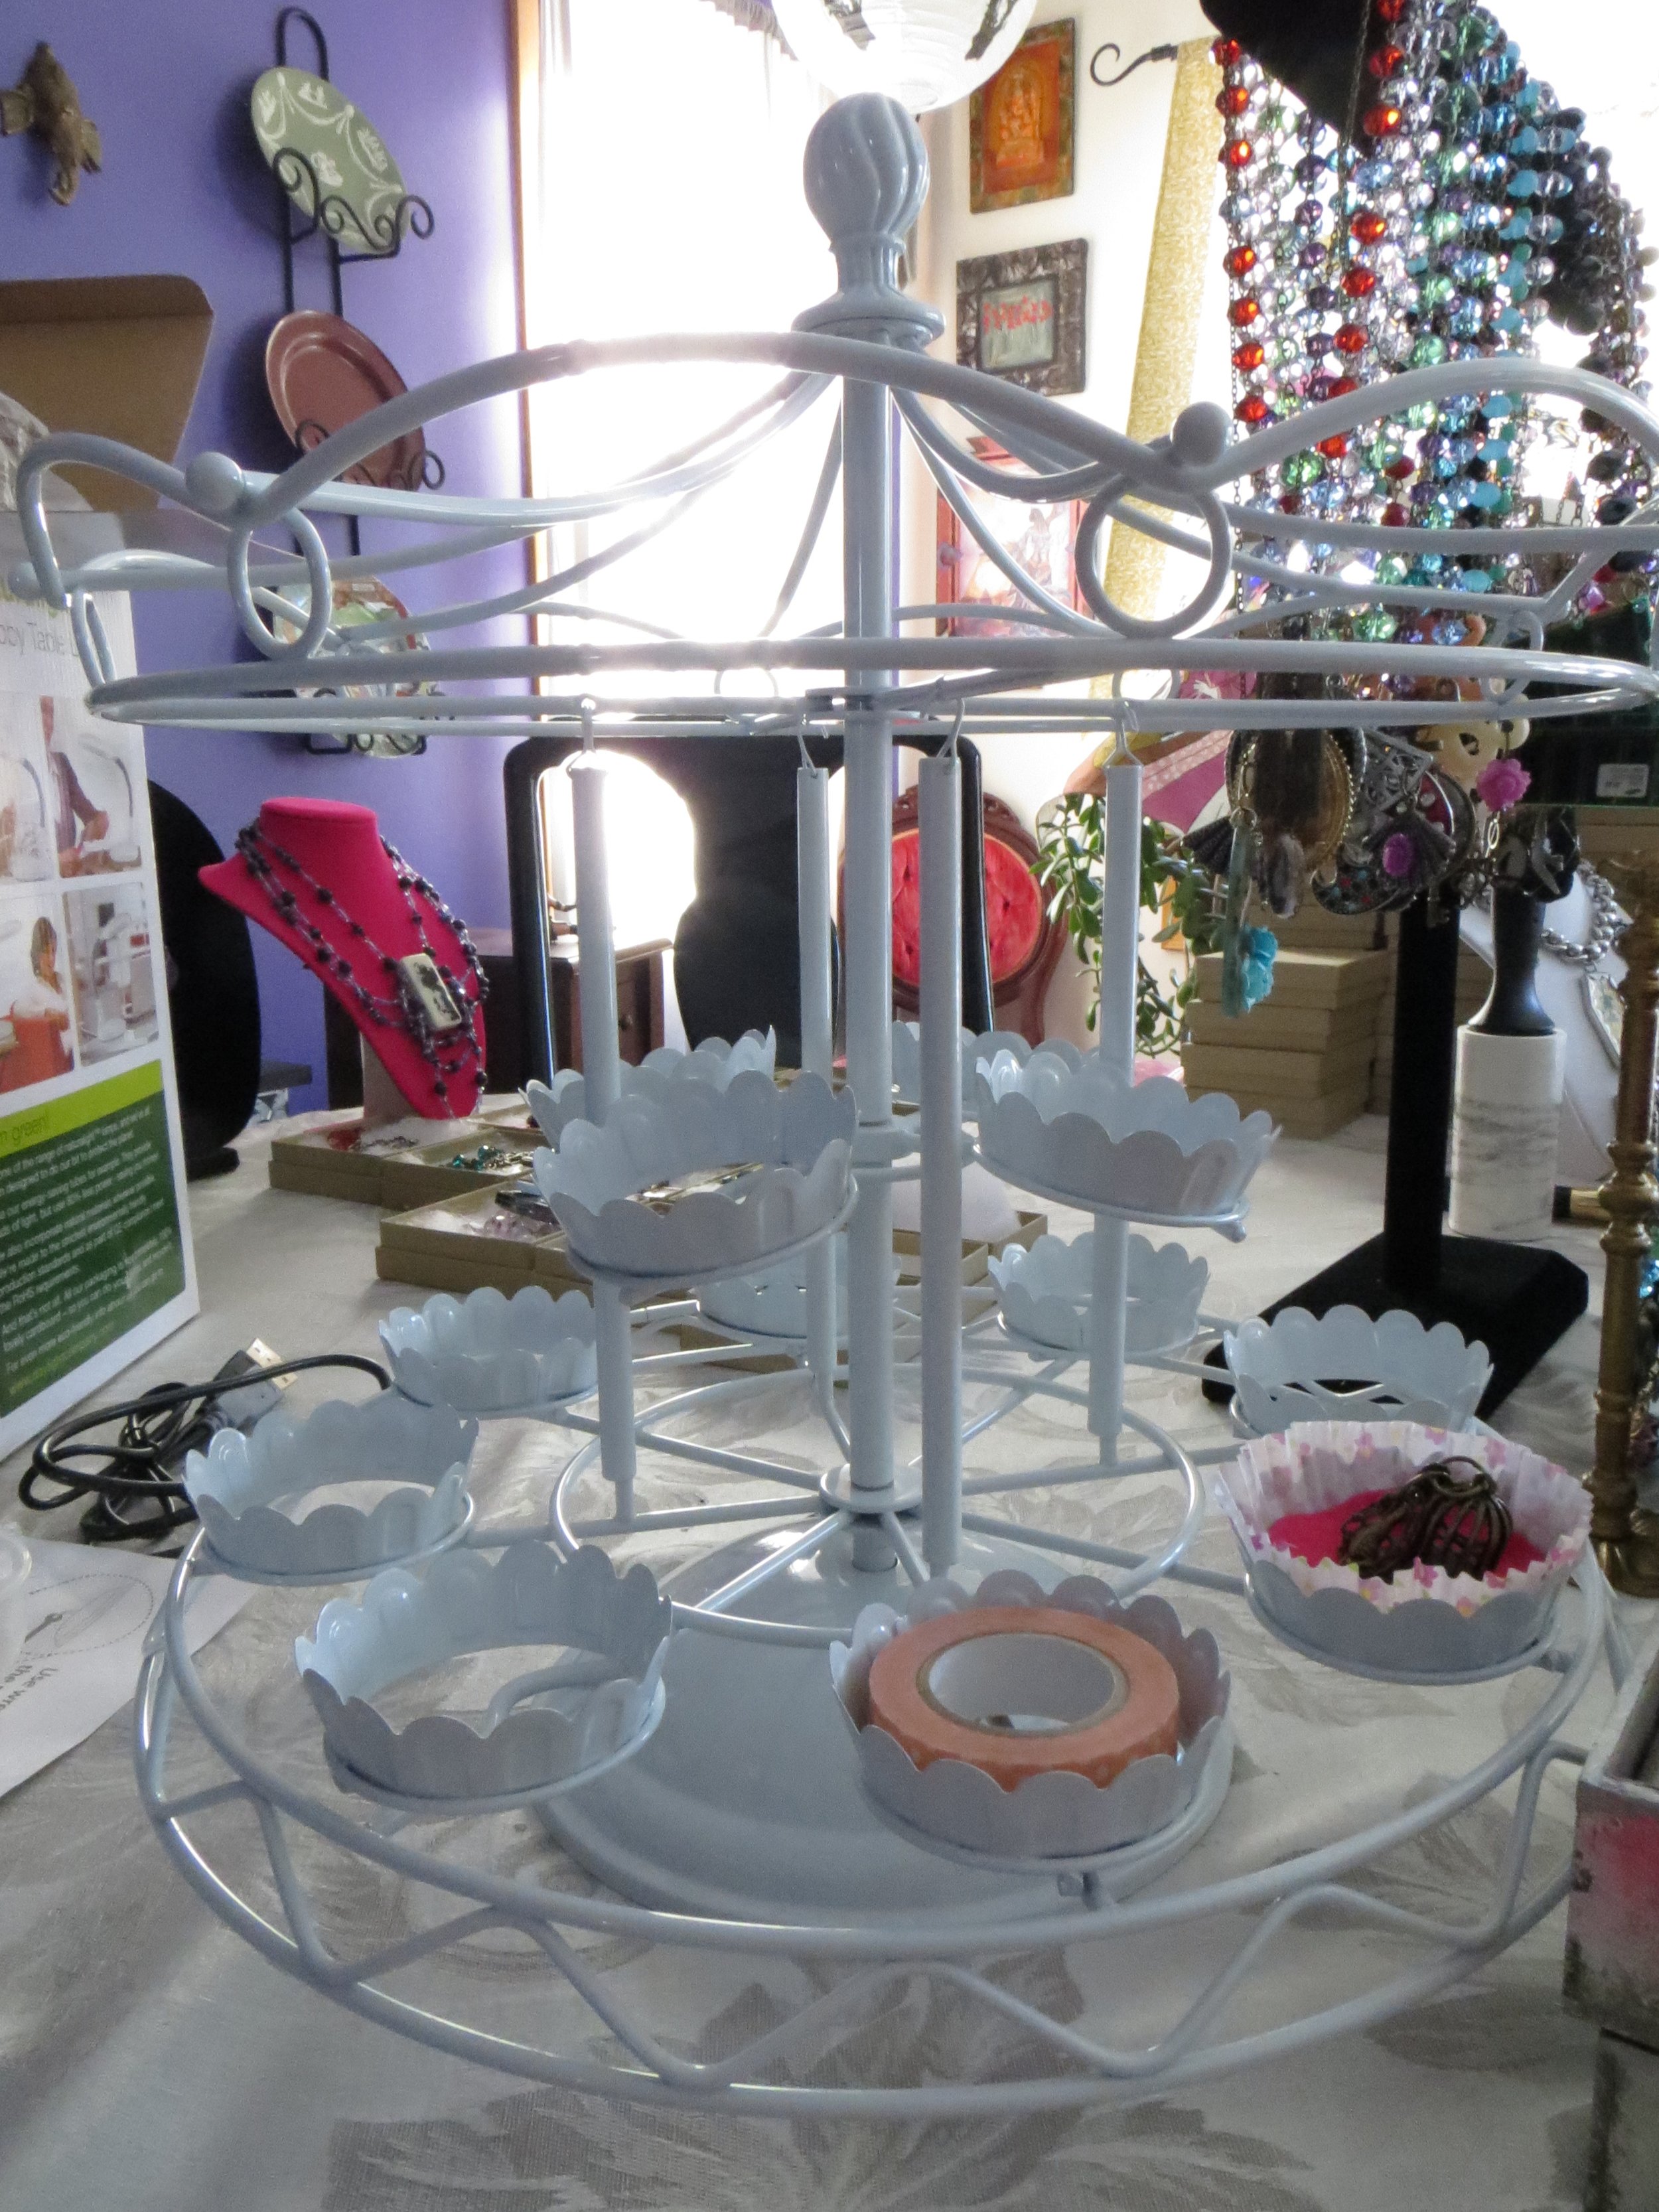
As you can see from the picture, after I put it together I was measuring the holder trays to figure out what I could use to measure what material I was deciding to use. I started with cupcake liners. Too flimsy. I tried paper and plain material. Fell through the bottom. Then I thought of felt. I realized I needed something to make it more sturdy but not too thick. And that's where the cereal box comes in:

Step 2: Draw circles with whatever size you decide to make your pieces.

Step 3: Draw the circles on the felt too.

Step 4: Cut them out. Cardboard and felt. This is pretty hard for me. I am terrible at cutting circles. But I trimmed them down and got pretty close.

Step 5: Glue them together.

Step 6: Love yourself. (I wrote myself notes on the bottom when they were dry)

Step 7: Put your circles into the trays.


Step 8: Fill with Pretties


A few months later and I still love my little set-up!